20. September 2020
Preparation of the winning calendar (Advent calendar)
Mailocator contains pre-prepared templates for action calendars, which reveal to users the winnings for a specific day in exchange for an email address. You can easily prepare an Advent calendar with a discount or an event for each day.
The following example describes how to make an Advent calendar
In Scenarios, create a new Calendar campaign
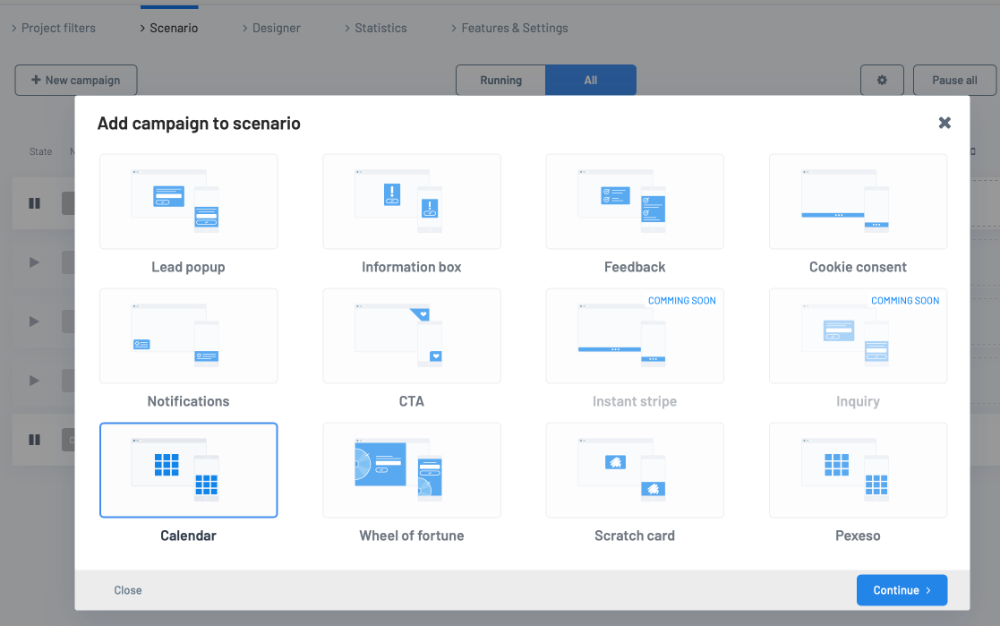
Select the Calendar campaign.
Choose the template that suits you.
Set the base color.
Set campaign delivery rules.
Set the default animation for the window display.
You can assign coupons or discount codes.
Setting the appearance of the Advent calendar
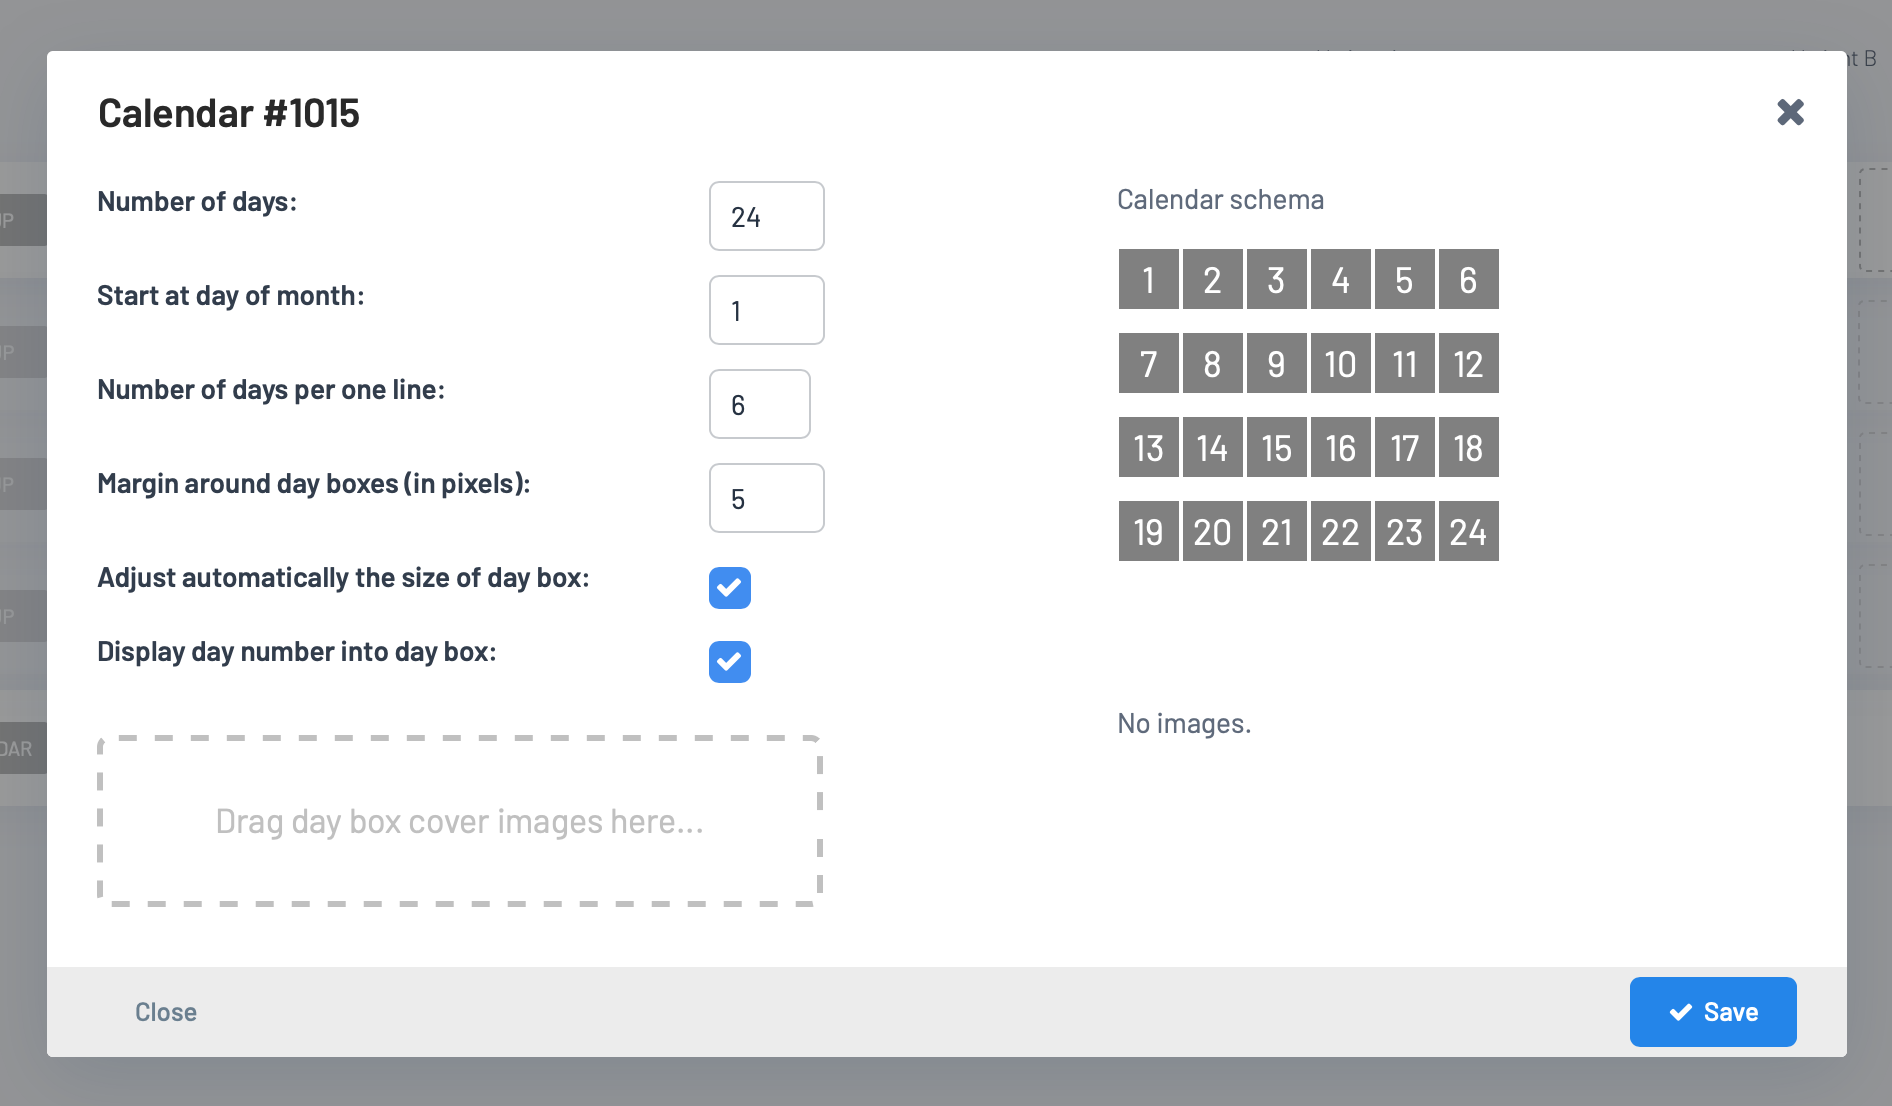
et the number of days to 24 (the first 24 days in December, the campaign is expected to run on December 1). After 24 days, the calendar will automatically stop appearing.
Set the first day of the campaign to 1 (December 1).
Choose the number of opening boxes with individual days on each line so that the grid corresponds to your ideas (you can see the preview in the right part).
Set the desired space between the fields.
If you don't want to create your own styles for the calendar (see below), check "Adjust automatically the size" and the boxes will be drawn at the optimal size.
Have the daily date automatically entered in the individual fields; if you have your own graphic fields composed of numbered images, you can turn off date listing.
Fields of days with your own pictures
If you want to cover the prizes with boxes with your own graphics, prepare 24 separate images (1 image for one day) and transfer them to the field for importing images.
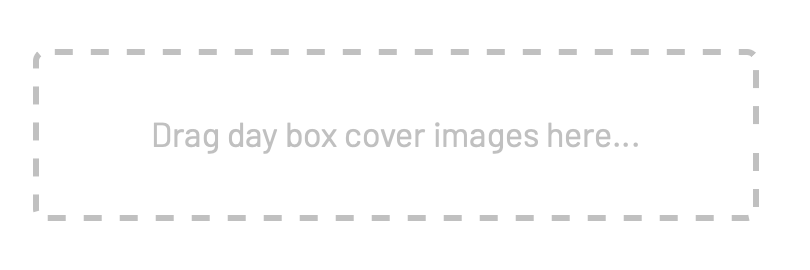
Transfer pictures one at a time from day one to last.
Images can be PNG, JPG or SVG.
The maximum size of one image is 50 KB.
Images can be deleted but not moved.
See a preview

Launch a campaign and review the proposal.
Please note that if the date (calendar day number) is outside the proposed calendar range, the calendar campaign will not be displayed! For testing purposes, simply set the range of days to include today.
You can edit texts and colors in the Designer or via the Text tool.
Expert settings
The following is a description of CSS classes and HTML elements that affect the behavior and appearance of the calendar
.cal-calendar is the required area in which the calendar is drawn. If you want to set a picture background, add a background to this class..cal-calendar .cal-day describes the appearance of a field with a specific bottom. If you turn off automatic field sizing (see above), you can set dimensions and margins here..cal-calendar .cal-day .cal-day-box-number use to set the background or custom location of the day number..cal-win adjust if you want to affect the appearance of the win window.Non-traditional calendars with their own positioning and individual field dimensions
In the HTML Editor, find the class
.cal-calendar and manually paste the following code for each day:
<div class="cal-day day-1">
   <div class="cal-day-box">
       <div class="cal-day-box-number">1</div>
       <div class="cal-day-box-backside"></div>
   </div>
</div>
Write calendar day numbers in class
.day-X and use this class for absolute positioning, z-index and other properties.